Homemade Star Crunch Cookies – Nostalgic Chocolate Caramel Treat
Homemade Star Crunch Cookies are an absolute delight, a nostalgic trip back to childhood in every bite. Remember those iconic candy bars, with their satisfying crunch and sweet, caramel-like center? Well, now you can recreate that magic right in your own kitchen! These aren’t just any cookies; they’re a celebration of texture and flavor, designed to bring a smile to your face and a chorus of “wow!” from anyone who tries them. What makes these homemade Star Crunch Cookies so special is the perfect balance: a crisp, slightly chewy cookie base giving way to a rich, sweet filling that echoes the original’s beloved profile. Forget the store-bought versions; we’re going to unlock the secrets to achieving that signature crispiness and melt-in-your-mouth goodness. Get ready to impress yourself and your loved ones with these incredibly delicious homemade Star Crunch Cookies!
Bring the Fun Home: Homemade Star Crunch Cookies!
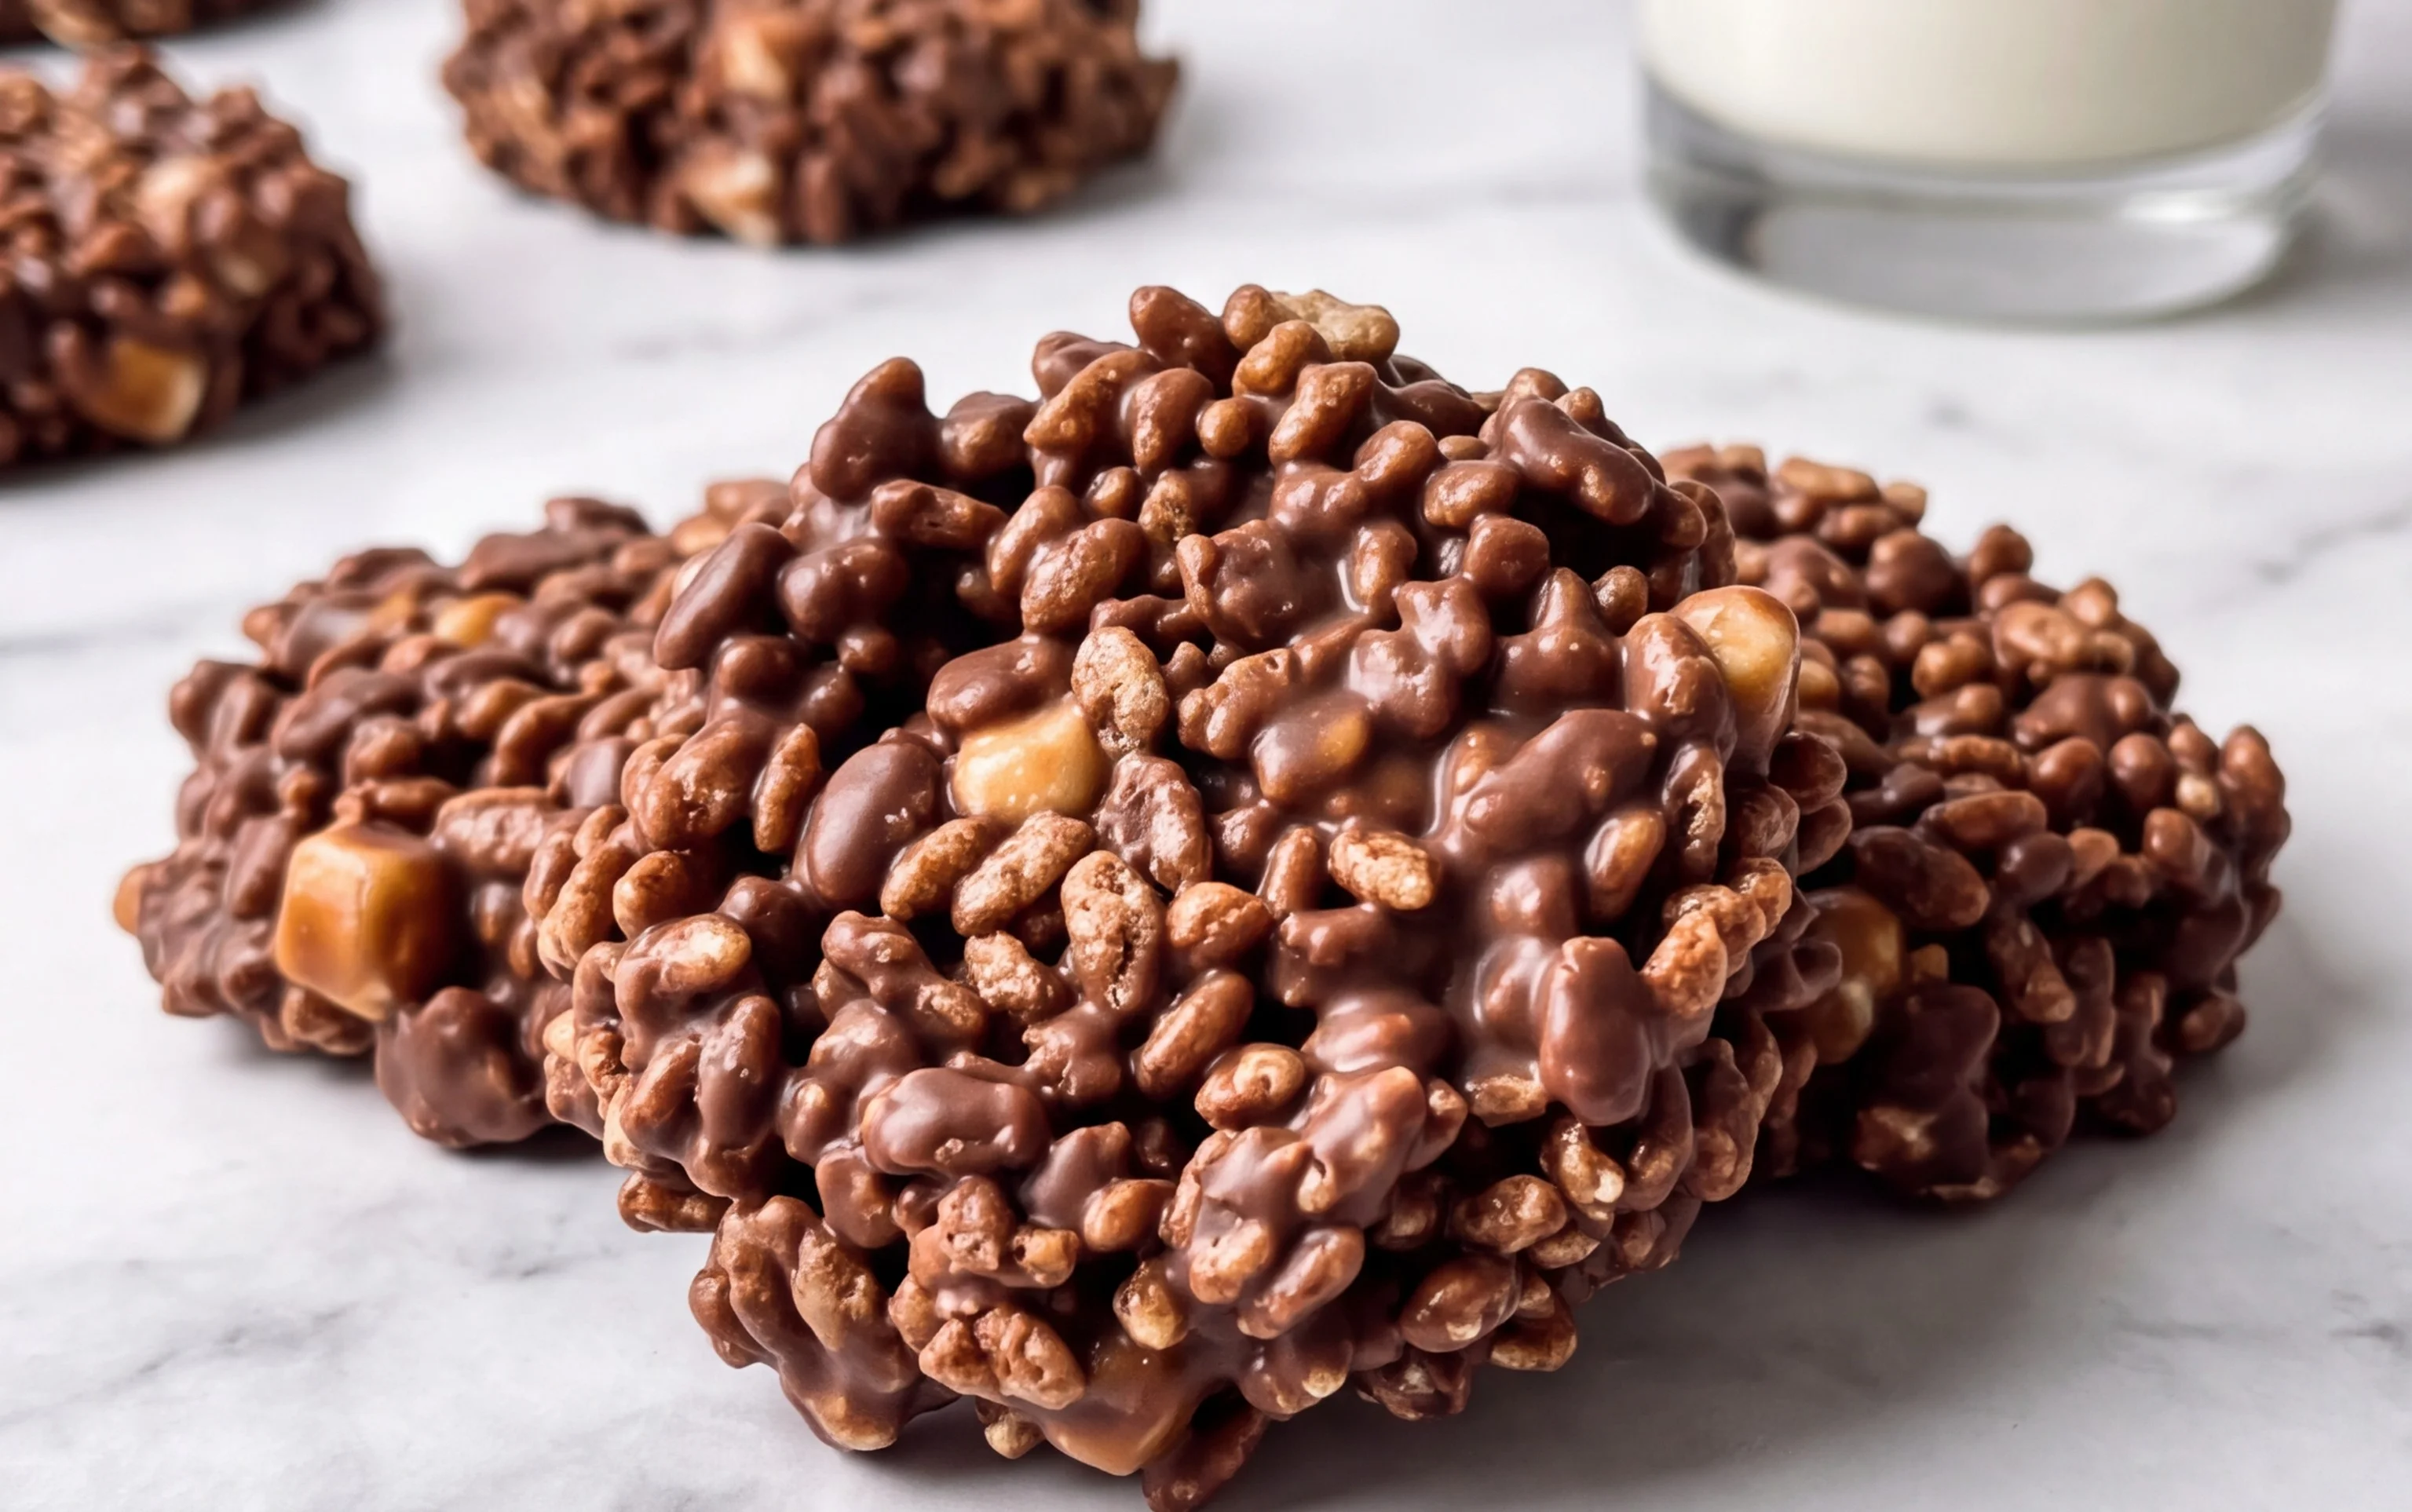
Remember those iconic, starry, chocolatey, caramel-y, crispy treats? Well, get ready to recreate that magic right in your own kitchen! These homemade Star Crunch cookies are surprisingly simple to make and deliver all the nostalgic flavor you crave. They’re perfect for a fun family activity, a party treat, or just when that sweet craving hits. Forget the store-bought versions; making them yourself means you control the quality and can even tweak them to your liking. Let’s dive into how we’re going to whip up these delightful little stars.
Ingredients:
- ¼ cup semi-sweet chocolate chips
- ½ cup salted caramel chips (Hershey brand recommended – see notes section for alternatives)
- 2 tablespoons butter (unsalted or salted work, just not margarine)
- 2 cups mini marshmallows
- 2 cups Rice Krispies cereal
Getting Started: The Melting Magic
The foundation of our Star Crunch cookies is a gooey, melted mixture that binds everything together. We’ll start by gently melting our chocolate, caramel, and butter. It’s important to do this over low heat to prevent scorching. A double boiler is ideal if you have one, but a heatproof bowl set over a saucepan of simmering water works just as well. This gradual melting ensures a smooth and consistent base for our cookies.
The Gooey Core
We’ll begin by combining the butter and the two types of chips in a medium saucepan over low heat. Stir constantly. The butter will help everything melt smoothly and prevent sticking. Keep stirring, ensuring all the chocolate and caramel chips melt evenly. This is where the magic starts to happen – the aromas will begin to fill your kitchen! Once everything is melted and smooth, remove the pan from the heat.
Now, it’s time to add the marshmallows. Add the 2 cups of mini marshmallows to the melted chocolate and caramel mixture. Stir them in gently until they are mostly melted and incorporated. You want a smooth, slightly sticky, and delightfully gooey consistency. Don’t worry if there are a few small marshmallow lumps remaining; they’ll soften further as you mix in the cereal. This marshmallow base is what gives our Star Crunch cookies their signature chewy texture and helps everything hold its shape.
Incorporating the Crispy Crunch
With our gooey base ready, it’s time to introduce the star of the show (besides the star shape, of course!) – the Rice Krispies cereal. Gently fold in the 2 cups of Rice Krispies cereal into the marshmallow, chocolate, and caramel mixture. The key here is to be gentle. We want to coat the cereal evenly without crushing it, preserving that satisfying crunch. Keep stirring until every bit of cereal is coated in the delicious, melty goodness. This step is crucial for achieving the perfect balance of chewy and crispy that makes Star Crunch cookies so irresistible.
Shaping the Stars
Now for the fun part: shaping our cookies! You have a couple of options here. You can lightly grease your hands with butter or cooking spray and roll the mixture into small balls, then gently flatten them into star-like shapes. Alternatively, you can use a small star-shaped cookie cutter. If using a cutter, lightly grease the inside of the cutter and press spoonfuls of the mixture into it, then carefully unmold. Another trick for a more defined star shape without a cutter is to press the mixture onto a piece of parchment paper and then use a sharp knife to cut out star shapes while it’s still warm and pliable. Aim for about 1.5 to 2-inch cookies. Don’t stress about perfection; even slightly irregular stars have their own charm and taste just as amazing!
Cooling and Setting
Once shaped, it’s important to let the cookies cool and set completely. Arrange the shaped cookies on a baking sheet lined with parchment paper. This prevents them from sticking and makes for easy cleanup. Allow them to sit at room temperature for at least 30 minutes to an hour, or until they are firm to the touch. If you’re in a hurry, you can place them in the refrigerator for about 15-20 minutes, but be careful not to let them get too hard, as this can affect the texture. Patience is key here; a well-set cookie will hold its shape and offer the perfect bite.
Notes on Caramel Chips and Variations
When it comes to caramel chips, the Hershey brand is specifically formulated to melt beautifully with chocolate. If you use a different brand, be aware that some caramel chips may contain less fat or different melting properties, which could affect the final consistency of your cookies. You might need to adjust the amount of butter slightly, or you may find they set up firmer or softer than expected. Always check the package for melting instructions on alternative brands.
For those who love a little extra flair, consider adding a sprinkle of sea salt on top of the cookies before they set for a delightful sweet and salty contrast. You could also experiment with adding a tiny pinch of cinnamon to the melted mixture for a subtle warmth. And if you’re feeling adventurous, a few drops of caramel extract can intensify the caramel flavor even further.
Enjoy your delicious, homemade Star Crunch cookies! They’re a delightful reminder that sometimes, the best treats are the ones you make yourself.
Conclusion:
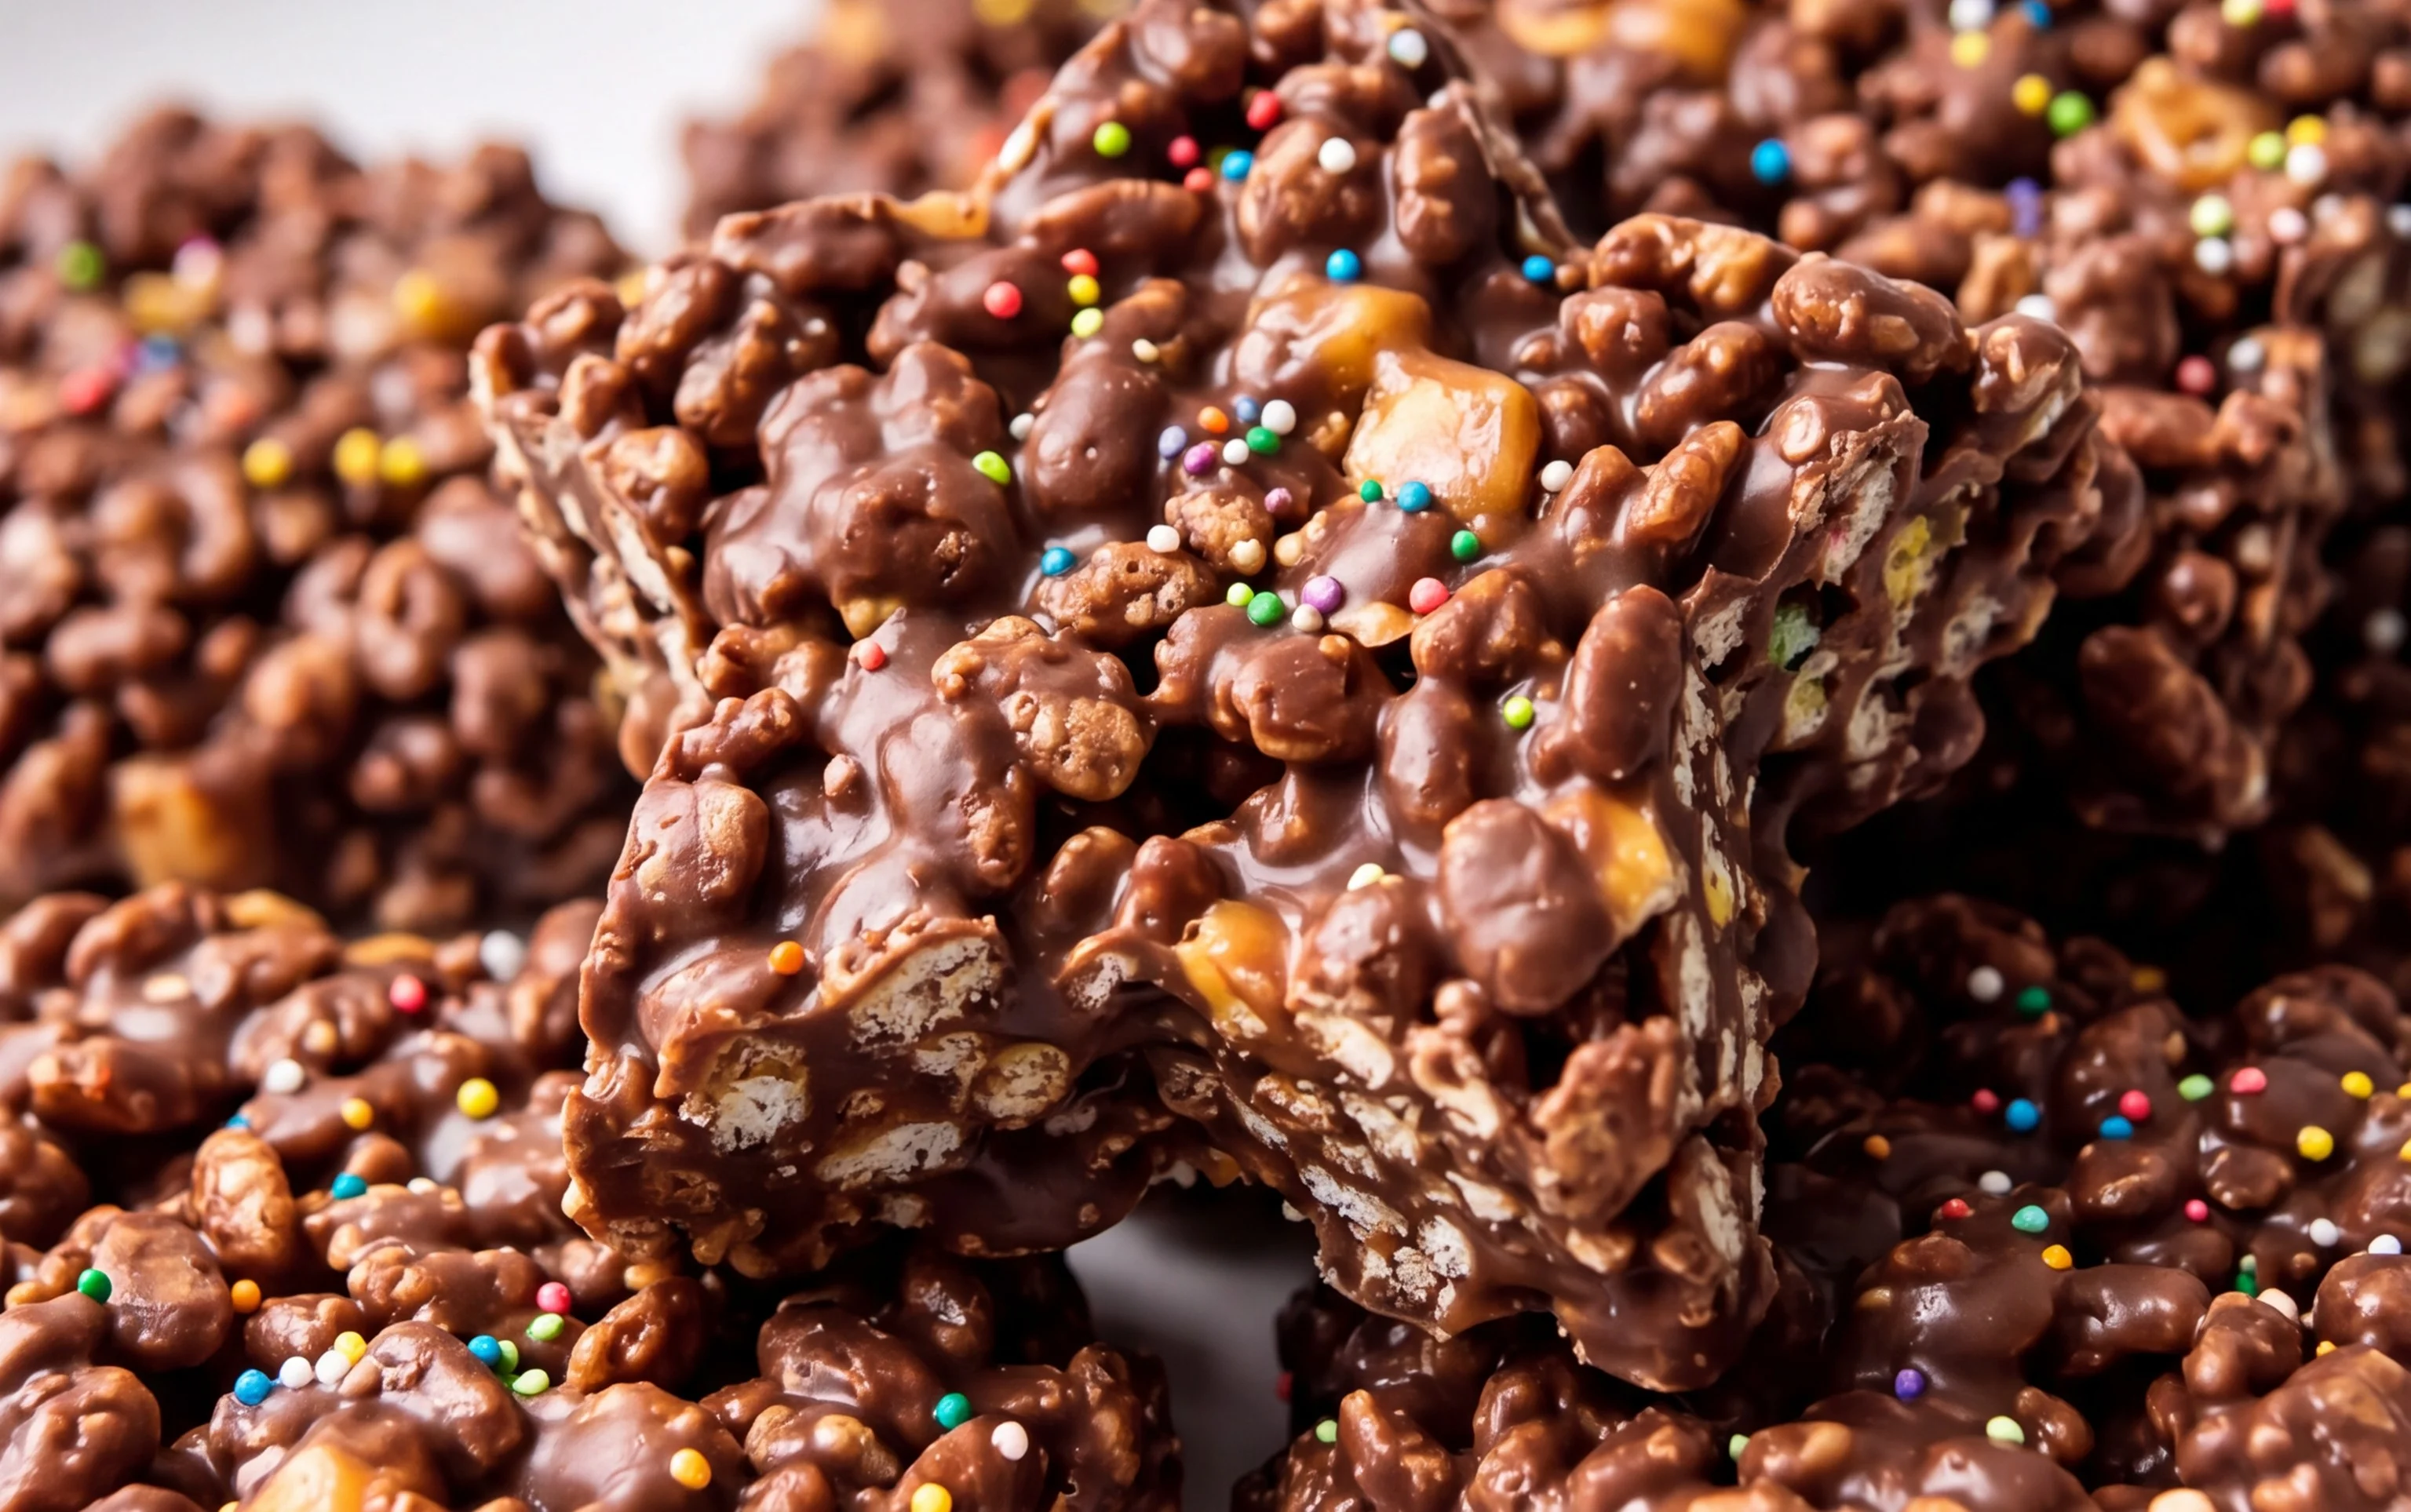
I hope you’re as excited as I am to try these incredible Homemade Star Crunch Cookies! This recipe truly captures that nostalgic, chewy, chocolatey goodness with that signature crunchy exterior. It’s surprisingly simple to make, making it perfect for a fun afternoon baking project with family or just a treat for yourself. The magic really happens with the combination of soft cookie dough and that delightful caramel-infused coating.
These cookies are fantastic served with a cold glass of milk, making them an instant hit for lunchboxes or after-school snacks. They also pair beautifully with a hot cup of coffee or tea for a delightful afternoon pick-me-up. For variations, feel free to add a pinch of sea salt to the caramel for a sweet and salty twist, or mix in some finely chopped nuts like pecans or walnuts into the cookie dough itself. Don’t be afraid to get creative and make these Homemade Star Crunch Cookies your own! I wholeheartedly encourage you to give this recipe a try; you won’t regret the delicious results.
Frequently Asked Questions:
Can I make these cookies ahead of time?
Absolutely! These cookies store exceptionally well. Once they’ve cooled completely, store them in an airtight container at room temperature for up to 5 days. They actually tend to develop an even chewier texture over time, which many people love.
My caramel coating didn’t harden as much as I expected. What went wrong?
This can happen for a few reasons. Ensure your caramel mixture reached the correct temperature if you’re using a thermometer (soft ball stage). Also, make sure the cookies are completely cool before dipping; dipping warm cookies can prevent the caramel from setting properly. If it’s very humid where you are, the caramel might take a little longer to firm up.
Homemade Star Crunch Cookies
A no-bake treat inspired by the classic Star Crunch candy, featuring chewy marshmallows, crispy rice cereal, and a chocolate-caramel coating.
Ingredients
-
¼ cup semi-sweet chocolate chips
-
½ cup salted caramel chips
-
2 tablespoons butter
-
2 cups mini marshmallows
-
2 cups rice krispy cereal
Instructions
-
Step 1
Line a baking sheet with parchment paper or wax paper and set aside. -
Step 2
In a large microwave-safe bowl, combine the butter, semi-sweet chocolate chips, and salted caramel chips. -
Step 3
Microwave on high for 30-second intervals, stirring after each, until the chips and butter are melted and smooth. Be careful not to overheat. -
Step 4
Add the mini marshmallows to the melted chocolate-caramel mixture and stir until they are mostly melted and combined, about 1-2 minutes. The residual heat should melt them. -
Step 5
Gently fold in the rice krispy cereal until it is evenly coated with the marshmallow-caramel mixture. -
Step 6
Drop spoonfuls of the mixture onto the prepared baking sheet, forming cookie-like shapes. They will spread slightly. -
Step 7
Allow the cookies to set at room temperature for at least 30 minutes, or until firm.
Important Information
Nutrition Facts (Per Serving)
It is important to consider this information as approximate and not to use it as definitive health advice.
Allergy Information
Please check ingredients for potential allergens and consult a health professional if in doubt.